Contents
Key Takeaways
-
Understand the clear signs that indicate it’s time to repot your container plants.
-
Choose the right size and material for your new pot to ensure plant health and growth.
-
Follow a step-by-step guide for repotting that minimizes stress on your plants.
-
Learn how to care for your plant after repotting to help it thrive.
-
Discover when and how to use advanced techniques like root pruning for specific plants.
Repotting Essentials for Thriving Container Plants

As a plant enthusiast, there’s nothing quite like the joy of seeing your green friends flourish. Whether you’re new to container gardening or have been nurturing your leafy companions for years, understanding the art of repotting is crucial for their growth and vitality. Let’s dive into the essentials of repotting and set your plants up for success.
Knowing When It’s Time to Repot
Most importantly, recognizing when to repot is fundamental. Plants often tell us when they’re ready for a new home through various signs. If you notice roots peeking out from the bottom of the pot, it’s a clear indication that your plant craves more space. Besides that, if the soil dries out too quickly after watering or the plant’s growth has noticeably slowed, these are also signs that it’s time for a change.
Selecting the Right Pot and Potting Mix
Choosing the right pot is more than just about aesthetics; it’s about health. A pot that’s too small can restrict root growth, while one that’s too large can lead to overwatering issues. Therefore, selecting a pot that is 1-2 inches larger in diameter than the current one is usually a safe bet. Additionally, because the potting mix plays a pivotal role in providing nutrients and proper drainage, opting for a high-quality, organic mix is advisable.
When it comes to materials, you have options like plastic, terracotta, or ceramic. Each has its pros and cons. Plastic is lightweight and retains moisture well, while terracotta is porous, allowing soil to dry more evenly. Ceramic pots are often glazed, adding a decorative touch, but they can be heavy and might not offer the same breathability as terracotta.
The Step-by-Step of Repotting

Now, let’s get our hands dirty – figuratively speaking, of course. Repotting can be a stress-free process if done correctly. Here’s a simple step-by-step guide:
-
Water your plant: A day before repotting, water your plant thoroughly. This will help the roots slide out more easily.
-
Gather your supplies: You’ll need the new pot, fresh potting mix, and any tools like scissors or a trowel.
-
Remove the plant: Gently tilt the pot and ease the plant out. If it’s stubborn, tap the pot’s edges on a hard surface to loosen it.
-
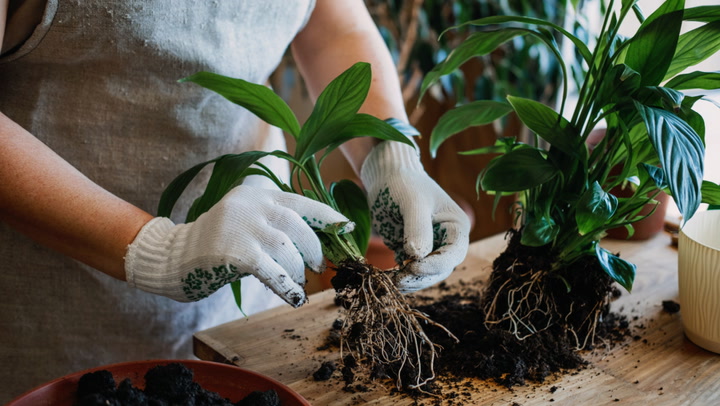
Prune if necessary: Trim any dead or overly long roots to encourage new growth.
-
Layer the new pot: Add a base layer of potting mix in the new pot, then position the plant in the center.
-
Fill with soil: Add more potting mix around the sides, packing lightly to remove air pockets.
-
Water again: Give your plant a good drink to help settle the soil and reduce transplant shock.
Remember, gentle handling is key throughout this process to avoid damaging the roots.
Post-Repotting Care for Optimal Growth
After repotting, your plant will need a little extra TLC. Keep it in a shaded area for a few days to help it recover from the stress of moving. Water it sparingly at first – the fresh potting mix will retain more moisture than the old, compacted soil. Keep an eye out for any signs of distress, such as drooping leaves or discoloration, and adjust care as needed.
Repotting doesn’t have to be a daunting task. With the right knowledge and tools, you can ensure your container plants continue to thrive. Stay tuned for more detailed insights in the following sections, where we’ll cover everything from selecting the right container to advanced plant care techniques.
-
Look for roots that circle the pot or emerge from drainage holes – a sure sign your plant is root-bound.
-
Choose a pot that’s 1-2 inches larger than the current one for optimal growth without overwatering.
-
Water your plant a day before repotting to ease the transition and prevent root damage.
-
When adding new soil, leave room at the top for watering and avoid packing it too tightly.
-
Post-repotting, place your plant in indirect light and monitor it for signs of stress or shock.
With the right approach, repotting can be a revitalizing experience for your container plants, encouraging continued growth and vitality.
Material World: Understanding Pot Choices
Choosing the correct pot for your plant is more than just a matter of size; the material of the pot can significantly affect the health of your plant. Plastic pots are affordable and retain moisture well, but they can also lead to waterlogged soil if not properly managed. Terracotta pots, with their porous nature, allow the soil to breathe and help prevent overwatering, but they may require more frequent watering. Ceramic pots are beautiful and sturdy, but they can be heavy and may not provide the same level of aeration as terracotta.
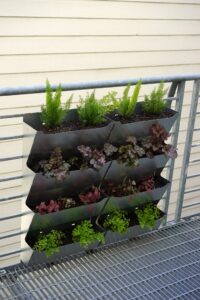
When selecting a new pot, consider these factors: vertical gardening principles, drainage needs, and material durability.
-
Drainage: Ensure the pot has adequate drainage holes to prevent water from pooling at the bottom.
-
Weight: If you plan to move the pot frequently, a lighter material may be preferable.
-
Insulation: In colder climates, thicker pots can provide better insulation for the roots.
The Art of Repotting

Repotting is an essential skill for any plant parent. It’s a way to refresh the soil, provide more room for growth, and inspect the health of the roots. Let’s break down the process into manageable steps.
Pre-Repotting Preparation
Before you begin, make sure you have all the necessary supplies: a new pot, fresh potting mix, a trowel or spoon for scooping soil, and scissors or pruning shears for root trimming. Water your plant thoroughly the day before repotting to minimize stress and make it easier to remove from the pot.
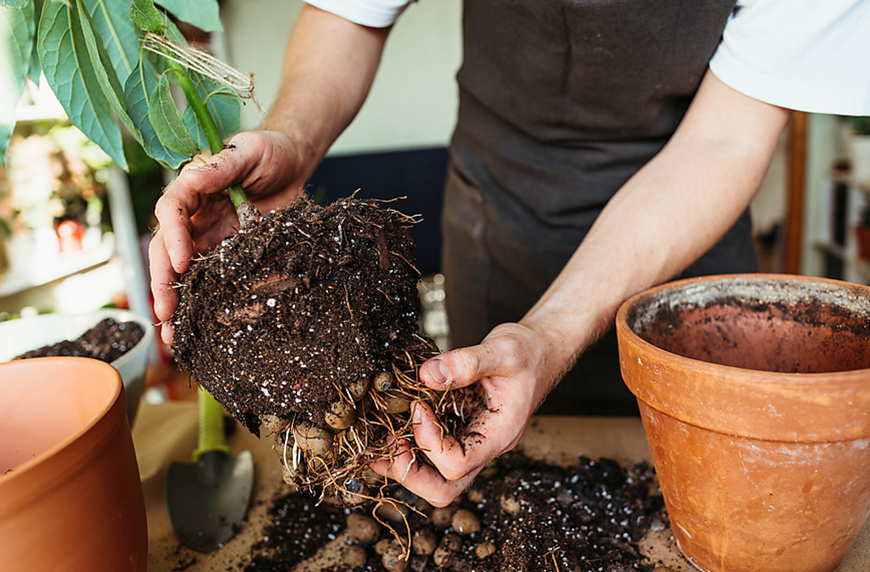
How to Gently Remove Your Plant
To remove your plant from its current pot, turn the pot sideways, hold the plant gently at its base, and tap the bottom of the pot until the plant slides out. If the plant is stuck, you may need to run a knife around the inside edge of the pot. Be gentle – you don’t want to damage the roots.
The Correct Way to Layer New Soil
Start by filling the new pot about one-third full with fresh potting mix. Place the plant in the center and add more soil around the sides. Tap the pot gently to settle the soil, but don’t pack it down too hard; you want to leave room for the roots to spread out.
Securing Your Plant and Final Touches
Once your plant is positioned in the new pot, fill in any gaps with more potting mix, leaving about an inch of space at the top for watering. Water the plant lightly to help settle the soil around the roots and remove any air pockets. Finally, clean any soil from the leaves and the outside of the pot for a tidy finish.
Example: When I repotted my snake plant, I noticed the roots were starting to circle the bottom of the pot. After moving it to a larger pot with fresh soil, the plant began to grow more vigorously and even produced new shoots.
Helping Your Plant Settle In
After repotting, your plant will need a period of adjustment. It’s normal for plants to experience some stress, but with proper care, they will soon begin to thrive in their new environment.
Irrigation Aftercare: Watering Post Repot
Immediately after repotting, give your plant a good watering to help it recover. For the next few weeks, be mindful of the watering schedule – the new soil will retain moisture differently than the old. Check the soil moisture before watering to avoid overwatering.
Light and Location: Where to Put Your Plant Now
Keep your newly repotted plant in a location with indirect light for a few days to a week. This will help it recover from the repotting process without the added stress of intense light.
Monitoring Your Plant for Stress Signs
Keep an eye on your plant for signs of stress, such as wilting, yellowing, or dropping leaves. These symptoms are normal immediately after repotting, but if they persist, it may indicate that the plant needs more or less water, light, or nutrients.
Advanced Tips for Container Plant Mastery
Once you’re comfortable with basic repotting, you can explore more advanced techniques to further enhance your plant’s health and growth.
Customizing Soil Mixtures for Specific Plants
Different plants have different soil requirements. For example, cacti and succulents thrive in sandy, well-draining mixes, while tropical plants prefer soil that retains more moisture. Tailoring the soil mix to your plant’s needs can make a significant difference in its growth.
Root Pruning: When and How
Root pruning can be beneficial for plants that have become too large for their pots but don’t necessarily need a larger one. Carefully trim away the outer roots to encourage new growth. This technique should be done sparingly and only on plants that can handle it, such as woody or fibrous-rooted plants.
Ready for Repotting? Must-Have Supplies
Before embarking on your repotting journey, gather all the necessary supplies to ensure a smooth process. You’ll need a new pot with drainage holes, fresh potting mix, a watering can, gloves to keep your hands clean, and a trowel for transferring soil. Additionally, having a pair of sharp scissors or pruning shears on hand will help you trim any dead or excessive roots.
Essential Tools for Efficient Repotting
Efficient repotting requires more than just your hands and good intentions. To do the job right, you should have:
-
A sturdy trowel for scooping and compacting soil
-
Pruning shears for snipping roots and removing dead foliage
-
Gloves to protect your hands and keep them clean
-
A watering can with a long spout for targeted watering
-
And most importantly, a high-quality potting mix that provides the right balance of drainage and water retention for your specific type of plant
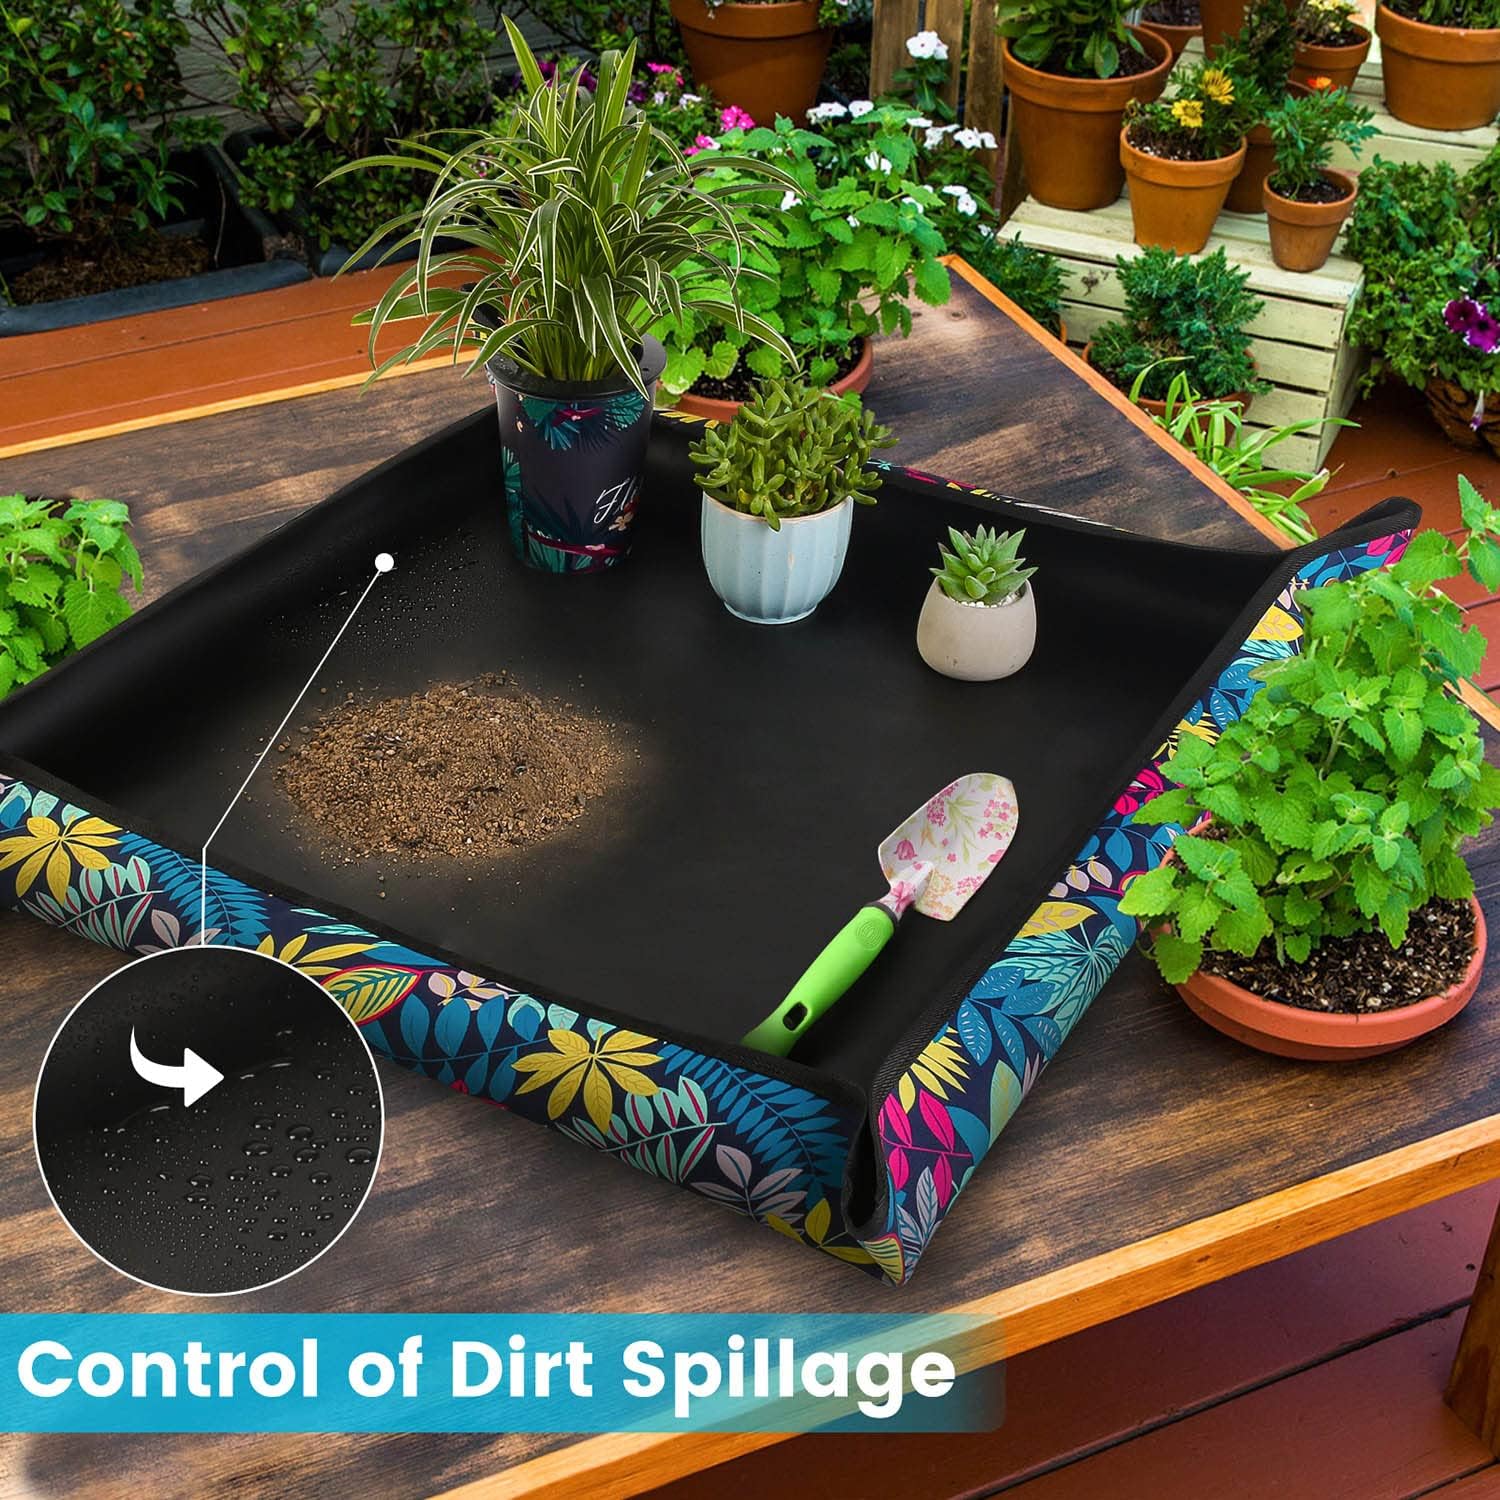
Showcase Product: The Perfect Repotting Mat – Buy Now
One often overlooked but incredibly useful tool is a repotting mat. This handy accessory keeps your workspace clean and makes it easy to contain and reuse spilled soil. It’s a game-changer for indoor gardeners who want to keep their floors and tables dirt-free. Ready to take your repotting game to the next level? Check out this durable, waterproof Repotting Mat that’s perfect for any plant enthusiast.
FAQs on Repotting Container Plants

Now that we’ve covered the essentials, let’s address some common questions to help you become a repotting pro.
How Often Should I Repot My Indoor Plants?
Generally, indoor plants should be repotted every 12-18 months, but this can vary depending on the plant’s growth rate and species. Fast-growing plants may need to be repotted more frequently, while slow growers can go longer between repottings. Always look for signs like roots growing out of drainage holes or a noticeable slowdown in growth.
For example, I had an aloe plant that outgrew its pot within a year, while my snake plant needed repotting after almost two years. Pay attention to your plants’ specific needs for the best results.
Additionally, if you notice a decline in the health of your plant, despite proper care, it might be time to provide it with fresh soil and more space to grow.
Can I Reuse Old Potting Soil?
While it might be tempting to reuse old potting soil to save money, it’s not always the best idea. Used soil can be depleted of nutrients and harbor pests or diseases. If you do choose to reuse soil, make sure to sterilize it first by baking it in the oven at 200°F for 30 minutes. However, for the healthiest plants, starting with fresh, high-quality potting mix is recommended.
What Is The Best Season for Repotting Plants?
The best time to repot most plants is during their active growing season, typically in the spring or early summer. This timing allows the plant to quickly recover from the stress of repotting and take advantage of the fresh soil’s nutrients to support new growth.
How Can I Tell If a Plant Is Already Too Big for Its Pot?
If you’re unsure whether your plant needs a new pot, look for these signs. For more detailed guidance, explore our guide on plant protection and growth enhancement.
-
Roots are circling the bottom of the pot or growing out of the drainage holes
-
The plant is top-heavy and tips over easily
-
It requires more frequent watering than it used to
-
There’s noticeable salt or mineral buildup on the surface of the soil
What Should I Do if My Plant Looks Unhappy After Repotting?
It’s normal for a plant to show signs of stress after repotting. To help it recover:
-
Keep the plant in a shaded area away from direct sunlight for a few days
-
Water it sparingly until it shows signs of new growth
-
Avoid fertilizing immediately after repotting to prevent burning the roots
-
Monitor the plant closely and adjust care as needed
If the plant continues to struggle, consider whether the new pot is the correct size, if the potting mix is appropriate for the plant’s needs, or if there may be other underlying issues.
Repotting your plants is an essential part of maintaining their health and promoting growth. When a plant outgrows its current container, it may become “root-bound,” meaning the roots have filled the pot and can’t grow anymore. This can lead to stunted growth and a decline in the plant’s overall health. To ensure your plants continue to thrive, it’s important to repot them into a larger container with fresh soil. If you’re unsure of how to do this, consider following a step-by-step guide on how to repot your houseplant to help you through the process.